
Genesis Of A Union Flag Filing Cabinet
Back in June 2019 (not long after I’d decided to start up Silverhand Creative), Gillette and I decided we needed a filing cabinet for all our accumulated paper work. This was part of a declutter exercise to see what we actually needed to keep and what we could get rid of.
Pretty early on, we decided we’d need a four-drawer cabinet, and that we’d look for second-hand one online. Either on eBay or Facebook marketplace. At some point during this “let’s get a filing cabinet” discussion, a thought launched out of my prefrontal cortex and passed my lips before I could even consider the consequences. *foreshadowing*
“Can we paint the Union Flag on the front?”
Gillette looked at me, and after a second or two said; “Sure. If you want”.
Planning
Design
The way that my brain works, when coming up with design ideas (or anything else, for that matter), is to sketch it out or write it down. It’s then out of my head and I don’t have to worry about trying to remember everything.
So, before we’d even started looking for a suitable filing cabinet, I knocked up a rough mock-up in Photoshop. This gave me a chance to play around with the orientation of the flag, to see what looked pleasing to my eye.
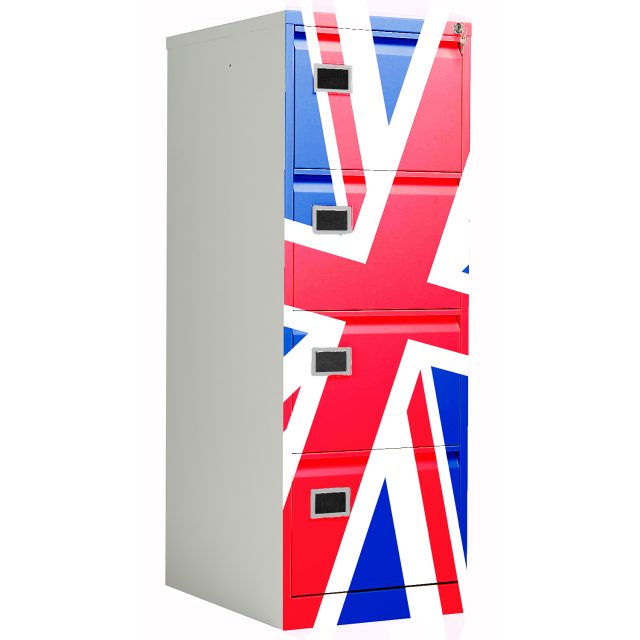
The above image is what we ended up settling on. Where the orientation of the flag image was tweaked, so that none of the straight lines that make up the design were aligned horizontally or vertically.
Template
With the overall design in place, I needed to fabricate a template, so that I could easily transfer the design onto the filing cabinet. Now, I knew what the UK Union flag looked like (having lived in the UK for the majority of my life) and what constituent countries’ flags go into the design. But, I’d never really studied it before.
I also knew that it wasn’t symmetrical in any axis, which was throwback knowledge from my time in the Boys Brigade, when I was in my pre-teens. This asymmetry meant that the flag could be upside-down, and I needed to make sure I got it right.

After a bit of study, some mathematical jiggery-pokery, and remembered high school geometry, I came up with something that would definitely do the trick. It was at this point I had a startling realisation. I could easily use a combination of 25mm (1”) and 50mm (2”) masking tape to get the spacing (between each of the three colours) spot on.
Spacing
Eureka..! This realisation would save me time, later on, when masking up. *more foreshadowing* So, running from thinnest to widest, I could use 25mm tape for the thinnest white stripes (on the diagonals). The horizontal and vertical white stripes (at the sides of the red St George’s cross) would use the 50mm tape, as would the diagonal red stripes. The thicker white diagonals would need both 25mm and 50mm tape, side-by-side. Finally, the St George’s cross itself would need three strips of 50mm tape, side-by-side. Get in..! *punches air*
Finishing Flourishes
On the front of each of the drawers is a rectangular holder. These are for inserting cards to indicate what documentation is in that particular drawer (or some other A-Z labelling). I’ve always thought the cards (and the whole insert-a-card concept) looked a bit crap, so I wanted to come up with a better solution.
I had a can of chalkboard spray paint left over from a previous project. The plan was to use this on the inside of these holders, then use a liquid chalk pen, with a fine nib, to write onto the chalkboard paint. Then, if we needed to re-label the drawers, it’d just be a case of wiping the chalk off and re-applying.
To finish off the holders, I had some metallic silver spray paint, left over from a different project, with which to do this.
Materials
Filing Cabinet
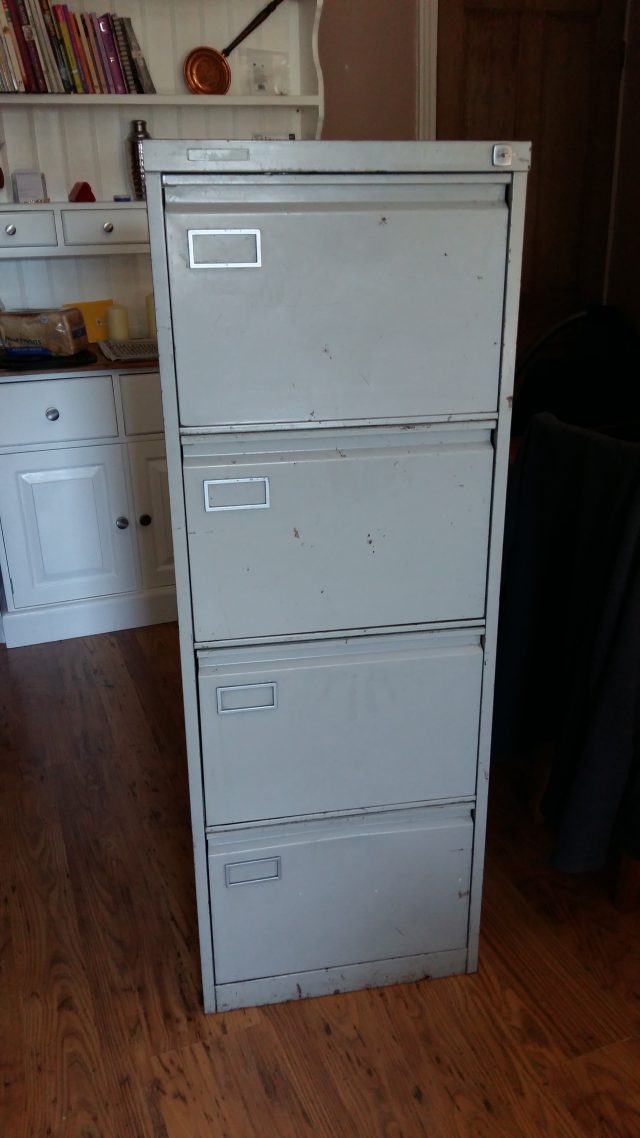
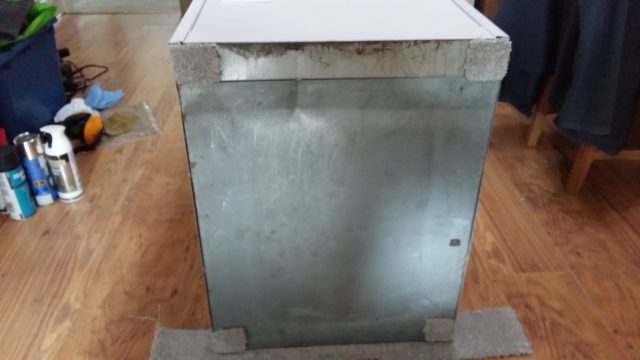
Now that I had a clear plan for this project, it was time to gather the materials. First off, we needed a four-draw filing cabinet. Gillette and I scoured eBay and Facebook Marketplace for a suitable candidate. However, each listing that was local to us would not deliver and required the purchaser to collect.
This was a bit of an issue for us, as although both of us can drive, we didn’t have transport. So, it took a few more weeks of searching before we found someone who would deliver (it wasn’t as straightforward as that, but the story is too long for this post). The upshot was, we managed to get a four-drawer filing cabinet delivered for £5..! Woohoo..! The guy even threw in some hanging files to go with it.
Paint, etc
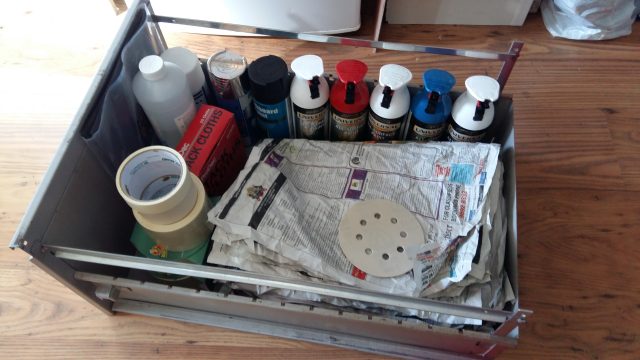
We had the filing cabinet (taking up space in our kitchen/dining room), and we already had some of the materials we needed to finish the project. So, all we really needed to purchase was the red, white and blue paint. The following is a complete list of what we used for this project:
- 120 grit sandpaper sheets & sanding discs.
- Tack cloths.
- 99.9% Isopropyl alcohol.
- 25mm & 50mm wide masking tape.
- Undercoat/primer spray paint – Grey (generic).
- Rust-oleum® Universal All-Surface Paint – White.
- Rust-oleum® Universal All-Surface Paint – Cardinal Red.
- Rust-oleum® Universal All-Surface Paint – Cobalt Blue.
- Chalkboard spray paint (from previous project).
- Metallic silver spray paint (from previous project).
- Contact adhesive.
- Old newspaper (we live for crosswords and other puzzles. Rock’N’Roll).
- Old carpet.
- Kitchen roll/paper towel.
- Thin plastic sheeting.
As the design for the Union flag filing cabinet would only be on the front, I only purchased a single 400ml can of the red and blue. I thought three cans of the white would be enough to cover the whole cabinet in a couple of coats. I completely mis-calculated and think I ended up buying another couple of cans.
One last thing of note, with regards to the Rust-oleum®, the white cans were a matt finish and the red and blue were a satin finish. This was a deliberate design choice, on my part, as I wanted to create a contrast between these colours.
Project Procedure
By the time I was ready to start the project, we had a few sunny days forecast. This was perfect and meant I wouldn’t be sanding or spraying paint in the kitchen. Speaking of sanding…
Sanding
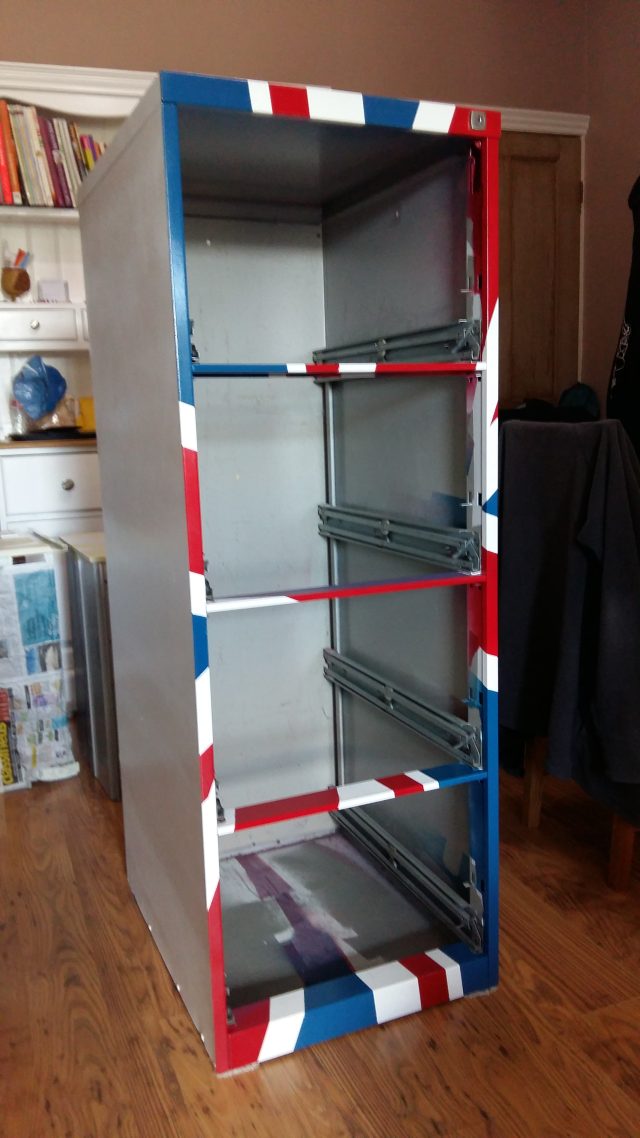
Every maker, crafter and DIYer loves sanding. It’s what we live for (that was sarcasm, btw). Unfortunately, it’s a necessary evil that we all must endure. Thankfully, the majority of the sanding workload for this project was taken up by my random orbital sander.
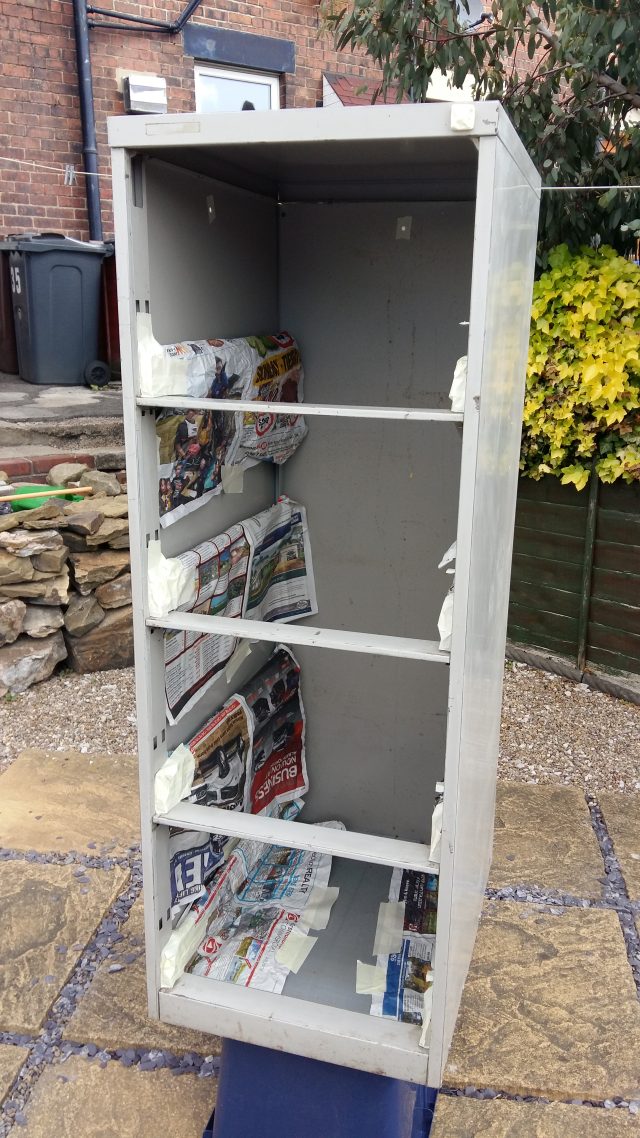
As the entirety of the filing cabinet was going to be white (not just the front), all external surfaces were sanded. I only needed to resort to hand sanding for under the drawer pulls, inside the holders and other parts of the cabinet that could not be reached with the electric sander.
Cleaning
Cleaning the filing cabinet was a two-stage affair. The first job was to rub down the entire cabinet and drawers with a tack cloth. For those who don’t know (and as the name implies), tack cloths are a little bit… well, tacky. This means that any loose dust left behind from the sanding process, will be picked up by the cloth as it is rubbed over the sanded surface. Once the fibers of that part of the cloth you are using are completely saturated with dust, you just fold the cloth over to a (relatively) clean part and continue.
The second stage is a complete wipe down with the 99.9% Isopropyl alcohol and the kitchen roll/paper towel. The aim here is to remove any lingering paint particles not removed by the tack cloth, and any other residue that might have accumulated over time (sticker or tape adhesive, etc.).
Undercoat
To ensure the top layers of paint would adhere nicely to the cabinet and draw fronts, a couple of layers of local hardware store grey primer were applied. I could have used white primer, but I wanted to have some contrast between the undercoat and the first layer. This was to make sure I didn’t miss any spots when it physically came to spraying on the white paint.
Topcoat
Whilst the undercoat was still a little tacky, I applied the first, light coat of the white all over the cabinet and drawer fronts. Particular attention was given to the underside of the drawer pulls. These were a little hard to spray into, and I wanted to make sure they were covered with no grey showing.

A few light coats of the white were applied, so that the finish appeared even and the cabinet and drawer fronts were completely covered.
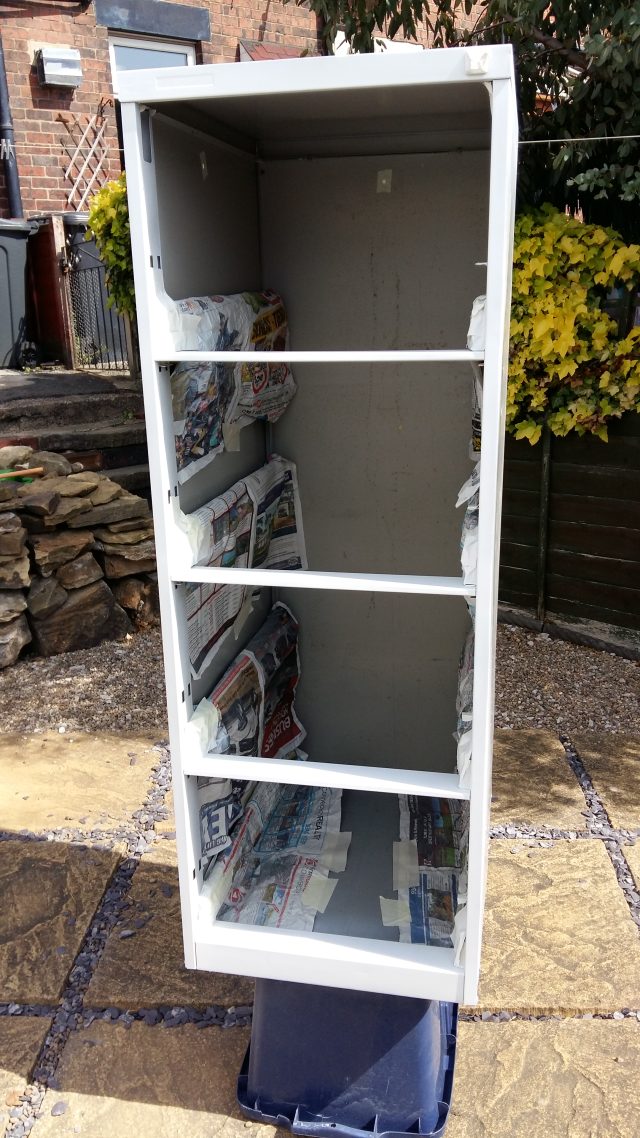
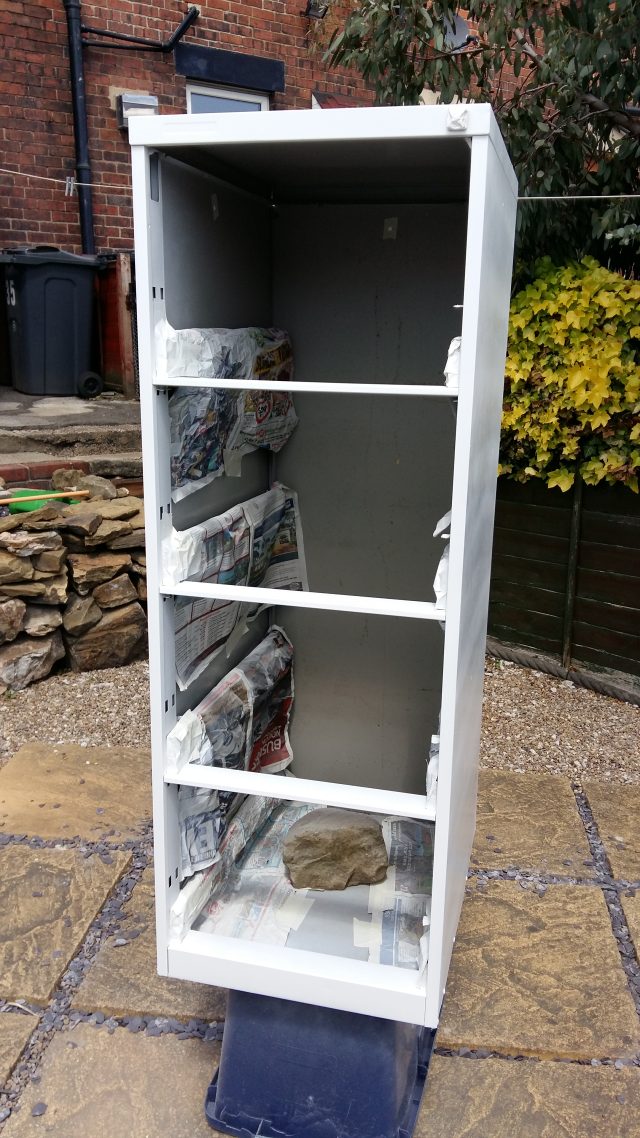
Carpet Feet
As Gillette and I were living in rented accommodation at the time, we needed to protect the wooden floor where the filing cabinet would be eventually placed. So, four squares were cut out of a carpet off-cut. These were adhered to the bottom of the cabinet with contact adhesive.
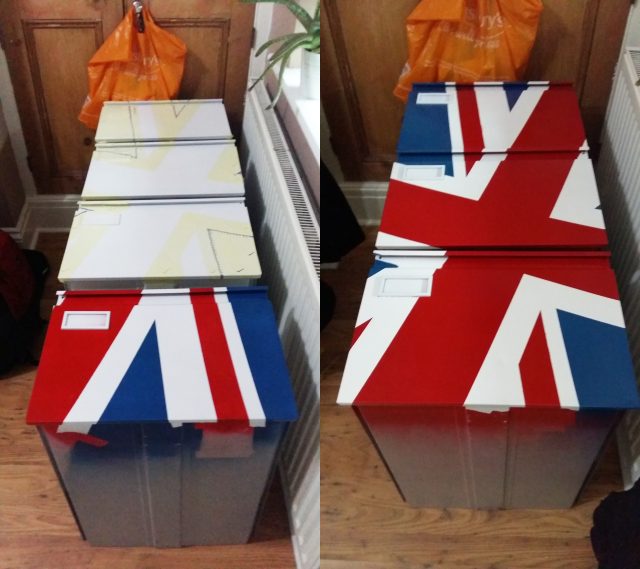
Masking
Once all the surfaces that needed to be white, were white, it was time to mask up for the Union flag design. Using the template I’d created, made easy work of marking points out on the drawer and cabinet fronts, for the design. It was then just a case of joining up the dots with the masking tape.
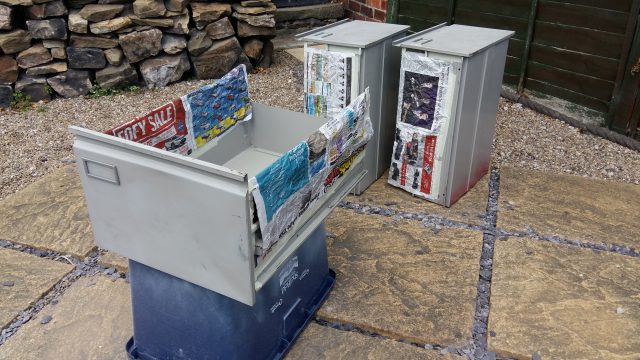
I masked out for the red and blue areas, and covered the areas that were going to be blue, with more tape on the cabinet and newspaper on the drawers. This was so that I didn’t have to remask, once the red areas were painted and could easily cover the red when it was time to paint the blue. The top, sides and back of the cabinet were covered in newspaper to protect them from overspray.
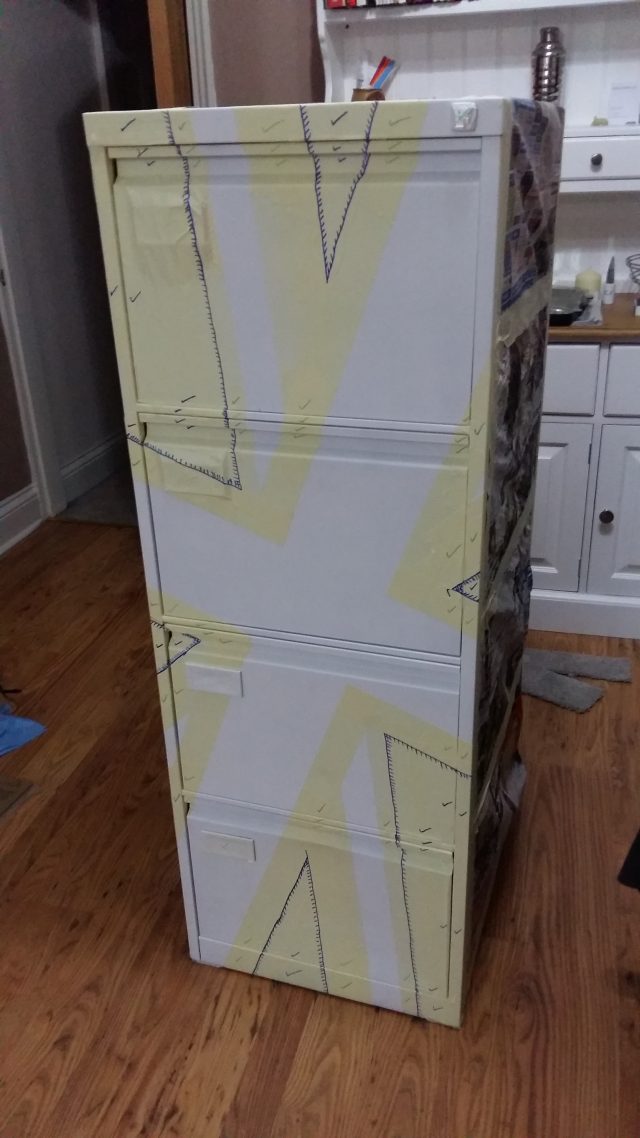
Seven hours later (YES..! SEVEN CHUFFIN’ LONG, LABORIOUS HOURS), I ended up with a fully masked up filing cabinet, along with severe back pain and eye strain for my trouble. Upon completion I turned to Gillette and asked;
“Why do you let me do stupid things?”
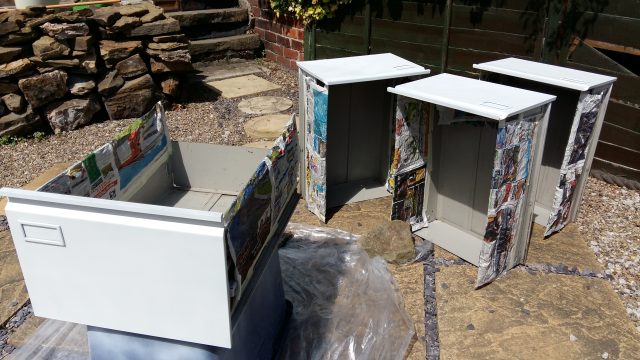
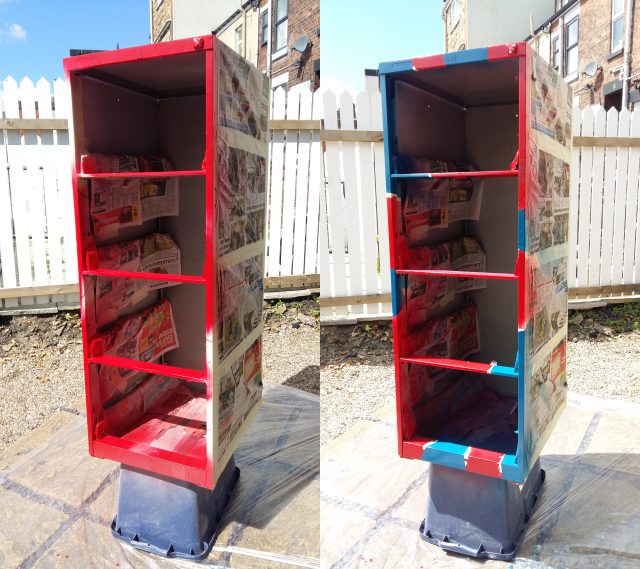
Red & Blue
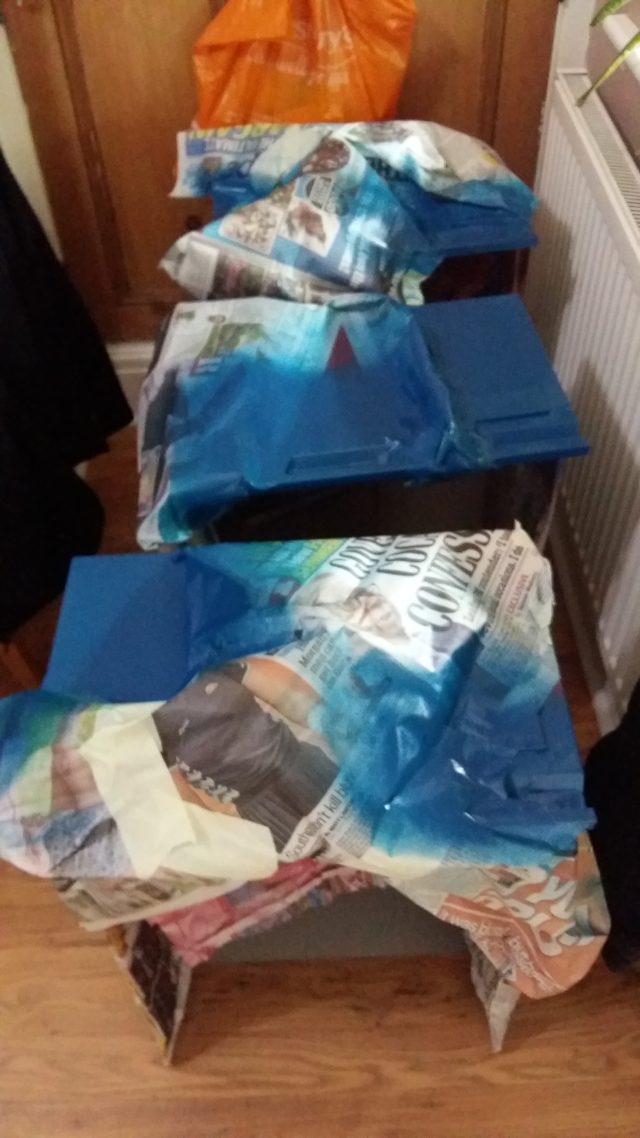
With the hard work done (which was immediately followed by an Earl Grey and a lie down), it was just a case of spraying the rest of the colours of the UK Union flag. A couple of coats of each colour was enough. The red was first, and once dry the blue areas were revealed and the red areas covered with newspaper. Then it was time for the blue.
Holders
As mentioned further up, I wanted to do something different with the holders on the drawer fronts. So, when the paint on the drawers was completely dry, I masked the frames of the holders on each of the four drawer fronts and covered the rest of the drawers in newspaper.
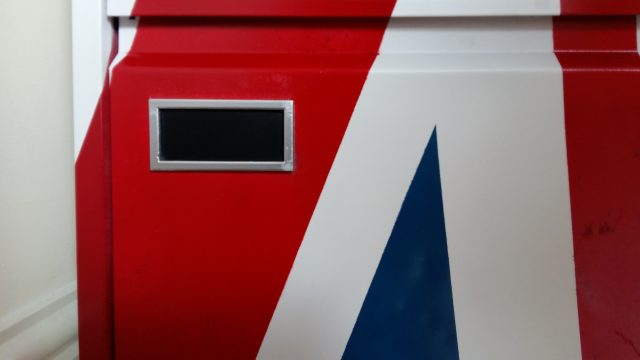
The chalkboard paint was then applied to the insides of the holder frames. When that was dry, the masking tape from the frames was removed, ready for the metallic silver. To protect the chalkboard paint, I just inserted four pieces of thin card into the holders.
A Job Well Done
Once the whole thing was finished, we moved it to its designated location in The Garret and stepped back to admire it. To say that Gillette and I were (and still are) extremely pleased with our Union flag filing cabinet, is a vast understatement.
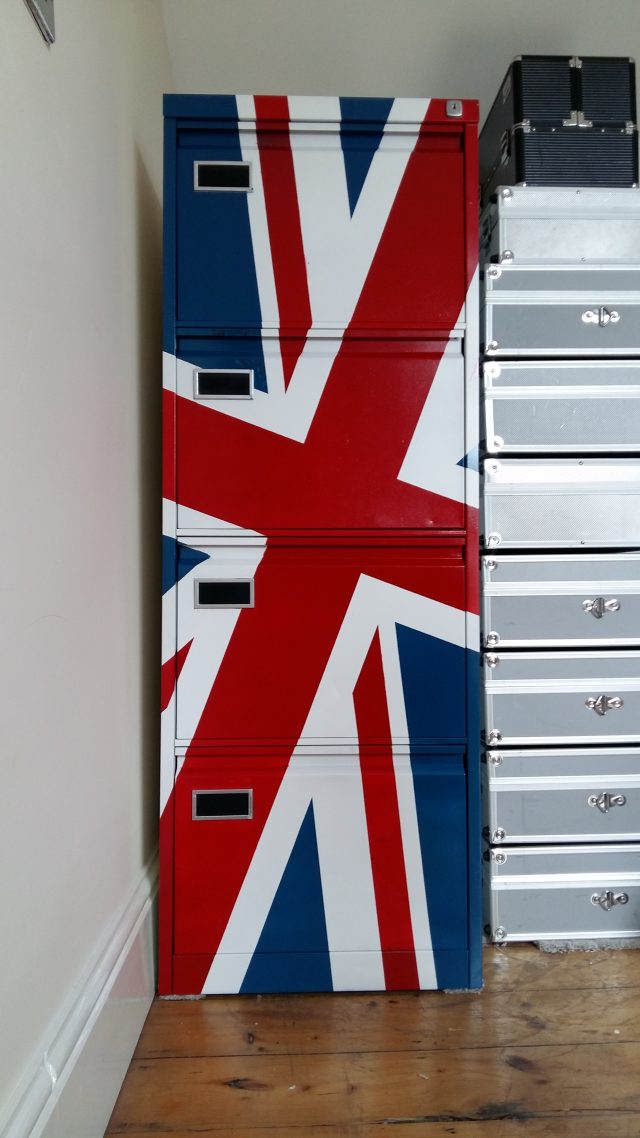
To this day, it still holds all the crap we accumulate. Although, the filing system has gone a little to pot, over the years. At some point I’m sure we’ll have to go through it all and reorganise.
Further Reading And Footnotes
For more information about me and all that is Silverhand Creative, go check out the About Me page on this website. I have a presence on Instagram and Facebook, where I post photos (and the odd video) of ongoing and finished projects. There’s also a YouTube channel, where you can see how I go about doing what I do and what tools I prefer to use. So, feel free (there’s no pressure) to follow and/or subscribe to any (or all) of the above.
If you’re feeling fruity, and would like to support my endeavours, then please head over to the silverhandstore.com Shopify store and treat yourself a little something. I am most definitely amenable to commission work and have a web form for you to get in touch, should you be looking for something a little more bespoke.
All trademarks (registered or otherwise) used in this blog lie solely with their respective owners.